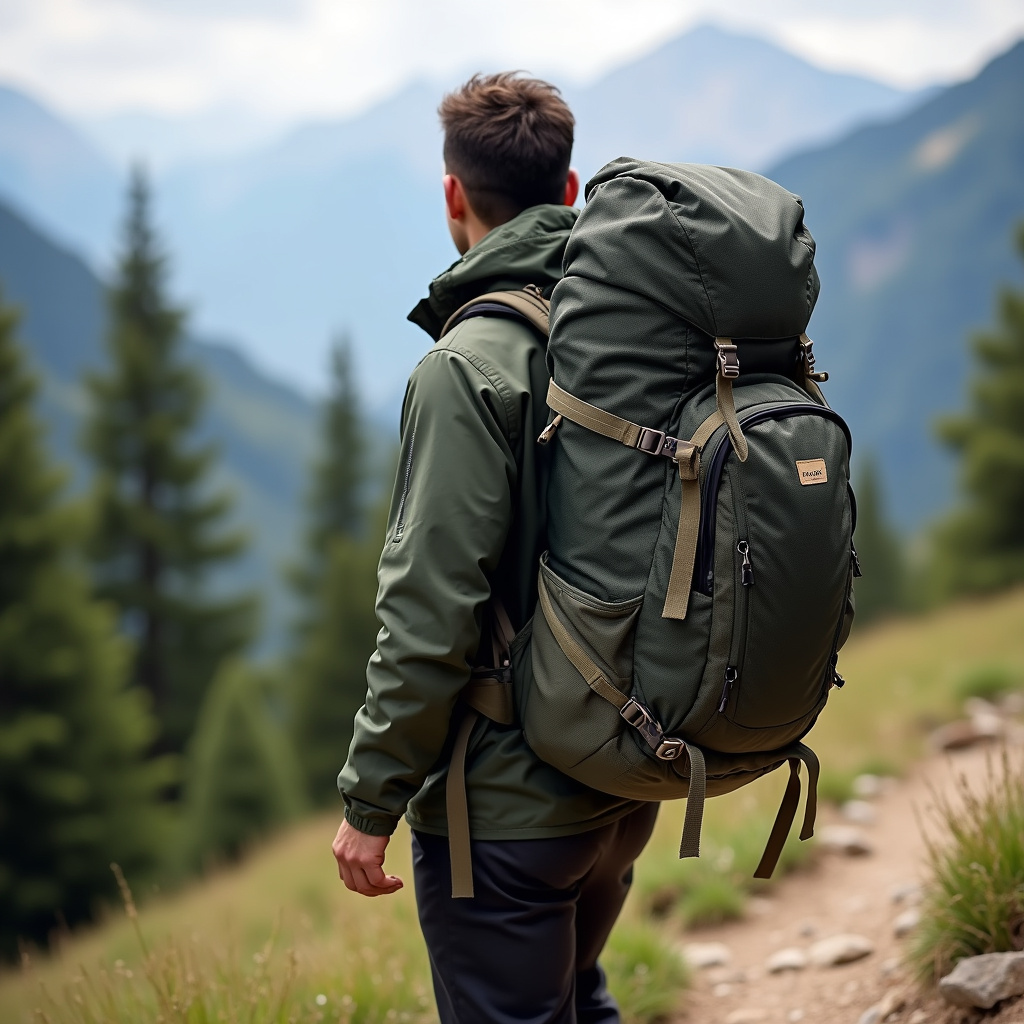
How to Pack a Backpack for Optimal Comfort and Balance
There’s an art and a science to packing a backpack for the wild. It’s not just about fitting everything in; it’s about optimizing every cubic inch to ensure comfort, balance, and efficiency on the trail. A poorly packed bag can transform a breathtaking adventure into a grueling endurance test, leading to discomfort, fatigue, and even injury. At WildGridScout, we believe that mastering the fundamentals of packology is as crucial as knowing your knots or reading a map.
Whether you’re embarking on a challenging multi-day trek or a leisurely day hike, how you distribute weight within your pack directly impacts your center of gravity, your posture, and ultimately, your ability to move freely and comfortably. This guide will delve into the principles of optimal backpack packing, ensuring your load becomes an extension of your body, rather than a burden.
The Science of a Stable Load: Why It Matters
Imagine navigating uneven terrain, crossing a stream, or scrambling up a steep incline with a backpack that constantly shifts, pulls, or throws you off balance. Not only is this exhausting, but it significantly increases your risk of falls and sprains. The goal of optimal packing is to create a compact, stable load that works with your body, not against it. This means strategically placing items to achieve a high and tight center of gravity, close to your spine, allowing your strong hip and leg muscles to bear the brunt of the weight.
According to experts at REI, the heaviest items should be placed close to your back and centered between your shoulder blades. This principle ensures that the weight is transferred efficiently to your hips via your pack’s frame and hip belt, which are designed to carry approximately 70-80% of the load. REI Expert Advice: How to Fit a Backpack
Deconstructing Your Backpack: Zones for Efficiency
Think of your backpack as having distinct zones, each with a specific purpose. Understanding these zones is key to systematic and efficient packing.
1. The Bottom Zone: The Base of Operations
This is where you stash items you won’t need until you set up camp. Think of it as the foundation of your pack, providing a stable base.
- What to pack here: Your sleeping bag (often in its own compartment), camp clothing, camp shoes, and other bulky but relatively lightweight items that can be compressed.
- Why: Placing these items at the bottom creates a low center of gravity for stability on flatter trails and provides cushioning if you need to set your pack down.
2. The Middle Zone: The Powerhouse (Your Core)
This is arguably the most critical zone for weight distribution and balance. The heaviest, densest items belong here, close to your back.
- What to pack here: Food, cooking pot, stove and fuel, a water reservoir (if internal and full), and the tent body/fly. These are the “bricks” of your pack.
- Why: Positioning heavy gear here, snuggled against your spine and between your shoulder blades, keeps the weight centered and minimizes sway. This allows your hips to efficiently carry the load, reducing strain on your shoulders. Backpacker Magazine: How to Pack a Backpack
3. The Top Zone: The Command Center
This zone is reserved for lighter items that you need to access frequently or quickly.
- What to pack here: Rain gear (jacket and pants), a first-aid kit, snacks, map and compass/GPS, headlamp, and perhaps a warm layer.
- Why: Easy access without having to unpack your entire bag. These items are typically lighter, so they don’t significantly impact your center of gravity when placed higher.
4. External Pockets & Attachment Points: The Quick-Draw and Awkward Carry
Side pockets, lid pockets, hip belt pockets, and external compression straps are invaluable for specific items.
- What to pack here: Water bottles, tent poles (often strapped vertically on the outside), trekking poles (when not in use), a small camera, sunscreen, bug spray, and perhaps a small trowel.
- Why: Immediate access to water and small essentials. External straps are ideal for bulky, awkward items like foam sleeping pads or snowshoes, which don’t fit inside or could create an imbalance. Be mindful not to overload external pockets, as this can cause your pack to swing or snag on brush.
The Art of Balance: Side-to-Side and Front-to-Back
Beyond the zones, consider the overall balance. Distribute weight evenly from left to right. An unbalanced pack will pull you to one side, leading to an uneven gait and potential muscle strain. When packing heavy items in the middle zone, ensure they are also centered laterally.
The ideal center of gravity within your pack can also depend on the terrain. For flat or rolling trails, a slightly lower center of gravity (heavier items slightly lower in the middle zone) provides good stability. For more technical terrain, scrambling, or climbing, a slightly higher center of gravity can improve your agility and allow for more dynamic movement. However, for general backpacking, aim for the sweet spot close to your shoulder blades. SectionHiker: Backpack Packing Methods
Compression and Consolidation: Cinch It Down!
Once your items are in place, compression is your best friend. Utilize all the compression straps on your pack – internal and external – to cinch down the load. This prevents items from shifting and sloshing around, which is a major culprit for instability and discomfort. A tightly compressed pack moves as one unit with your body.
Stuff sacks and dry bags are excellent for organizing smaller items and protecting gear from moisture. Group similar items together (e.g., all cooking gear in one stuff sack, all toiletries in another). This not only keeps your pack tidy but also aids in retrieving items quickly.
The Test Drive: A Crucial Step
Before you hit the trail, do a “test pack” at home. Load your backpack with all the gear you plan to take, then put it on. Walk around your house, climb some stairs, bend over, and simulate trail movements. Pay attention to how the pack feels. Does it pull you backward? Does it sway side-to-side? Are there any pressure points?
This is also the perfect time to fine-tune your pack’s fit. Start by adjusting your hip belt so it rests squarely on your iliac crest (hip bones). Then, adjust your shoulder straps so they are snug but not tight. Finally, adjust the load lifter straps (small straps connecting the top of the shoulder straps to the top of the pack) to pull the pack’s weight closer to your body, usually at a 45-degree angle. Osprey Packs: How to Fit a Backpack
WildGridScout’s Pro Tips:
- Minimalist Mentality: Before you even start packing, scrutinize every item. Do you truly need it? The less you carry, the easier it is to achieve optimal comfort and balance.
- Practice Makes Perfect: Don’t wait until a major trip to practice your packing. Regular day hikes or weekend trips are excellent opportunities to refine your system.
- Embrace the Iterative Process: Your ideal packing strategy might evolve with different trips, gear, or even your fitness level. Be flexible and willing to adapt.
Mastering the art of packing a backpack is a skill that will profoundly enhance your outdoor experiences. By understanding weight distribution, utilizing your pack’s zones effectively, and fine-tuning the fit, you’ll transform your load from a cumbersome burden into a comfortable, balanced companion, ready for whatever the trail throws your way. Happy trails!