Signaling for Help: When and How to Use Emergency Signals
Signaling for Help: When and How to Use Emergency Signals
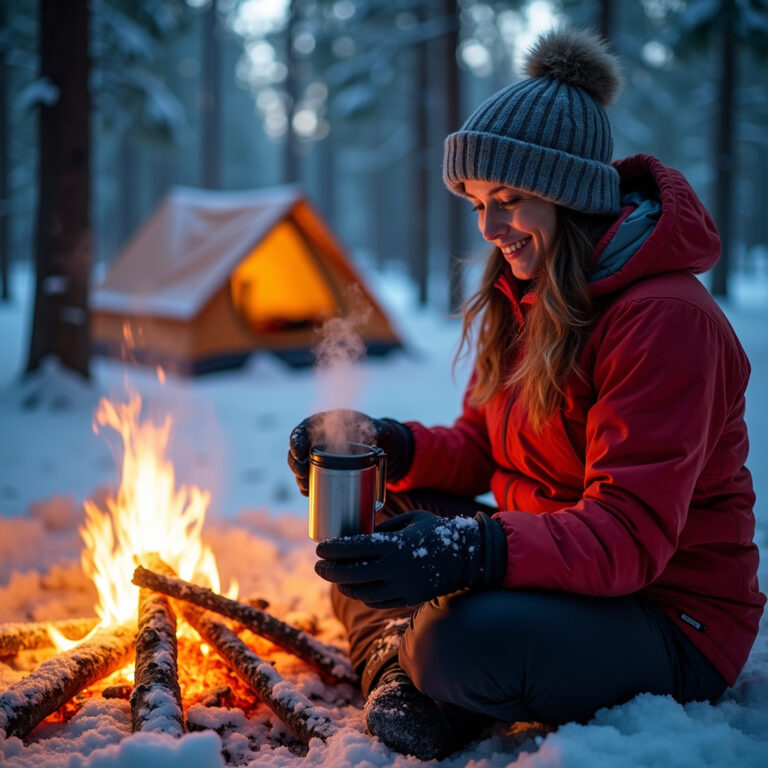
In the vast expanse of the outdoors, where rugged trails give way to untamed wilderness, even the most seasoned adventurers can find themselves in unexpected predicaments. Whether it’s a twisted ankle miles from the trailhead, a sudden whiteout, or a critical gear failure, knowing how to effectively signal for help can literally be a lifesaver. At WildGridScout, we believe preparedness is the bedrock of every successful outdoor experience. This guide delves into the crucial skill of emergency signaling: understanding when to call for aid, and mastering the various methods to make yourself seen and heard. It’s not just about carrying the right gear; it’s about having the knowledge and confidence to use it when every second counts.
When to Signal: The Critical Decision
Deciding to signal for help is a serious choice that should not be taken lightly. It diverts valuable search and rescue (SAR) resources and can put responders at risk. Before activating any emergency signal, ask yourself these questions:
- Is it a genuine emergency? Is there a threat to life, limb, or eyesight? Are you injured and unable to move? Are you lost and disoriented with no hope of self-rescue before dark or a change in conditions?
- Have you exhausted all self-rescue options? Can you self-treat an injury and continue? Can you navigate your way out with a map and compass or GPS? Do you have enough supplies to wait it out?
- Is your location known? If you filed a trip plan, search and rescue will know where to start looking. If not, your chances of being found decrease significantly.
Only when self-rescue is impossible or unsafe should you activate an emergency signal. Hesitation can be dangerous, but so can an unnecessary call for help.
The Universal Language of Distress
The international distress signal is three of anything: three blasts of a whistle, three flashes of light, three fires, three rock piles, three yells. These should be repeated at regular intervals (e.g., once a minute for a whistle) to indicate ongoing distress, followed by a pause. If you receive a response (two of anything), acknowledge it with two signals.
Visual Signals: Making Yourself Seen
In many situations, especially during daylight or clear nights, visual signals are your most effective tool.
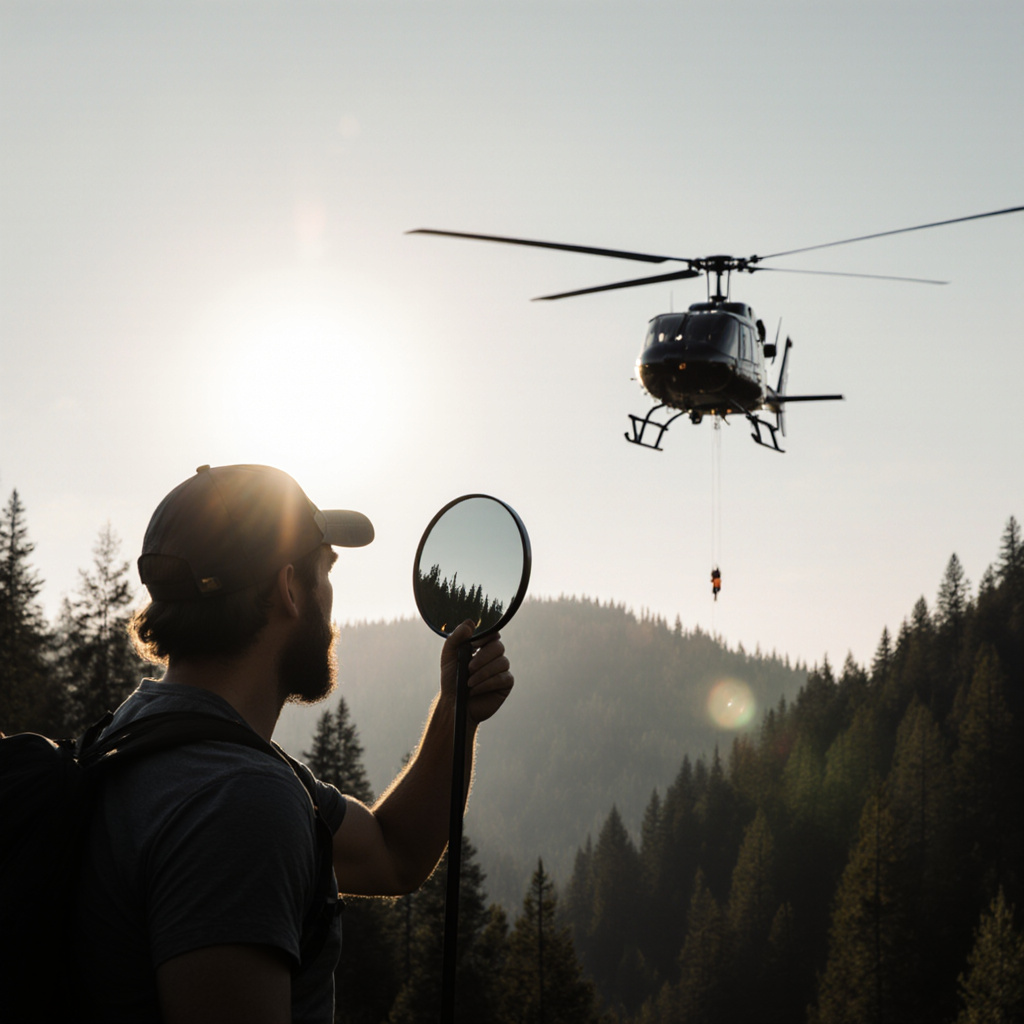
Signal Mirror: A Beam of Hope
A signal mirror is a lightweight, indispensable piece of outdoor gear. It works by reflecting sunlight towards aircraft, distant search parties, or even boaters. To use one effectively:
- Hold the mirror in one hand, pointing it at a distant target (or where you expect rescuers to be).
- Make a V-shape with your other hand, holding it in front of your eye and sighting through the V.
- Look through the sighting hole in the mirror (if it has one) and adjust the mirror until the sun’s reflection (a bright spot) falls onto your V-sight.
- Sweep the reflection slowly across the horizon where you believe rescuers might be, or directly at an aircraft.
Practice with your signal mirror before you need it. Even on cloudy days, a signal mirror can reflect ambient light, though less intensely.
Fire and Smoke: The Ancient Call
A signal fire is powerful, especially during the day for smoke, and at night for light.
- Daytime Smoke: Build a small, hot fire. When you see or hear an aircraft, add green vegetation (leaves, pine needles, damp moss) to create thick, white smoke. If you have a tarp or blanket, you can create puffs of smoke by covering and uncovering the fire quickly.
- Nighttime Light: Build three fires in a triangle or straight line, approximately 50-100 feet apart, to represent the international distress signal. Maintain them continuously.
Always have a safe fire ring and water or dirt nearby for extinguishing.
Strobe Lights and Flashlights: Nighttime Beacons
Modern LED headlamps and flashlights are incredibly bright and efficient.
- Use your light to flash the SOS pattern (three short flashes, three long flashes, three short flashes).
- If you don’t know SOS, continuous flashing or sweeping a beam across the sky can also draw attention.
- Consider carrying a dedicated strobe light, often found on personal flotation devices, which can operate for many hours.
Ground-to-Air Signals: Large-Scale Messages
If you’re stranded for an extended period, you can create large-scale ground signals visible from above.
- Natural Materials: Use rocks, logs, branches, or contrasting vegetation to spell out “SOS” or form large “X” (meaning “need medical assistance”) or “V” (meaning “require assistance”). Make the symbols at least 10-15 feet long to be visible from the air.
- Bright Clothing/Tarps: Lay out brightly colored clothing, tents, or tarps in an open area to create a contrasting pattern against the natural landscape.
Auditory Signals: The Sound of Help
When visual contact is impossible due to dense foliage, fog, or darkness, auditory signals become paramount.
Whistle: Small Device, Big Sound
A simple pealess whistle is one of the most effective and least energy-intensive auditory signaling devices.
- Carry one attached to your backpack or emergency kit.
- Use the international distress signal: three short blasts, followed by a pause, then repeat.
- Listen for a response (two blasts) before continuing.
A whistle can be heard over greater distances than the human voice and conserves energy much better than yelling.
Voice: Yell for Attention
While less efficient than a whistle, yelling “Help!” or “Yoo-hoo!” (a traditional call-and-response in the woods) can be effective over shorter distances. Save your voice for when you believe rescuers are close.
Electronic Signals: The Modern Lifeline
For many, electronic devices offer the most reliable and direct way to contact emergency services.
Personal Locator Beacons (PLBs)
A PLB is a dedicated emergency device that, when activated, transmits a distress signal to a worldwide satellite system (COSPAS-SARSAT). This signal is relayed to a rescue coordination center, which then dispatches local SAR teams.
- Pros: Extremely reliable, works globally, transmits unique ID.
- Cons: One-way communication, requires line of sight to satellites, battery life limits, must be registered.
Always register your PLB with the appropriate national authority (e.g., NOAA in the US) to link your device to your personal information and emergency contacts. This greatly speeds up rescue efforts.
Satellite Messengers (e.g., Garmin InReach, Zoleo)
These devices combine GPS navigation, two-way messaging, and an SOS function that alerts a private monitoring center.
- Pros: Two-way communication allows you to describe your situation, receive updates, and coordinate with rescuers. Global coverage, tracking features.
- Cons: Requires a subscription plan, battery life can be a concern, can be more expensive than a PLB.
Cell Phones: Limited but Useful
Your cell phone can be a valuable tool, but its utility is often limited in remote areas due to lack of service.
- Dial 911 (or 112 in Europe): Even without regular service, your phone might connect to any available network for emergency calls.
- Conserve Battery: Turn off data, Wi-Fi, and location services. Keep it warm to preserve battery life.
- Pre-download Maps: Offline maps can help you determine your location, which is crucial information for rescuers.
Never rely solely on a cell phone for emergency communication in the backcountry.
Preparedness and Practice: Your Best Defense
No signaling device is effective if you don’t carry it or know how to use it.
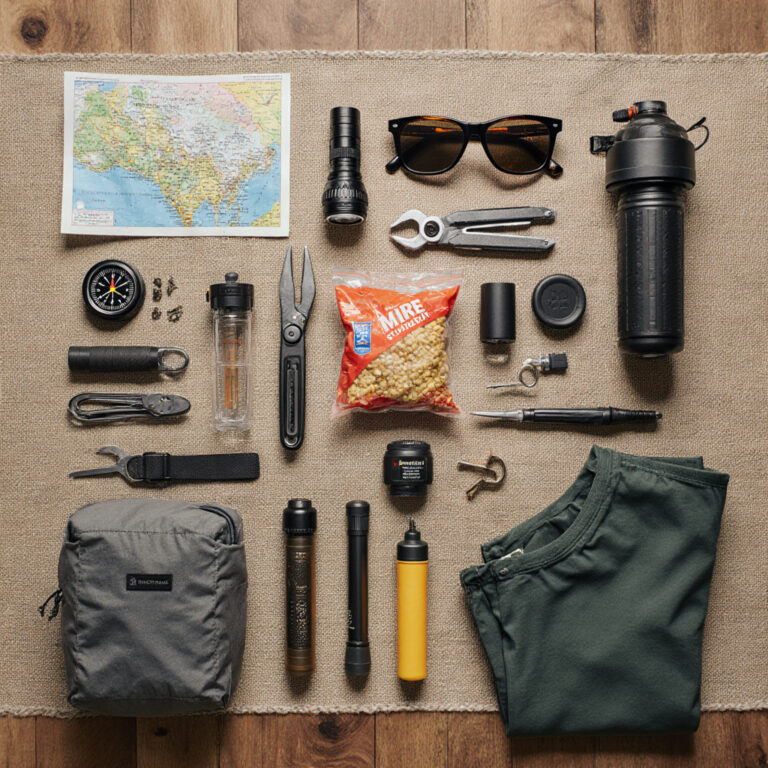
- Carry the Essentials: Always pack a signal mirror, whistle, and a reliable light source. If venturing into truly remote areas, a PLB or satellite messenger is highly recommended.
- Practice Makes Perfect: Familiarize yourself with all your signaling gear. Know how to use your signal mirror to reflect a beam, practice the SOS pattern with your flashlight, and understand the activation procedure for your electronic devices.
- Leave a Trip Plan: Always inform a trusted friend or family member of your exact route, destination, expected return time, and who to contact if you don’t check in. This is arguably the most critical “signal” you can send before you even leave.
- Mind Your Impact: While signaling for help is a priority, remember Leave No Trace principles. If building a signal fire, choose a safe location, keep it contained, and extinguish it completely. Remove any ground signals when leaving the area, if safe to do so.
Conclusion
The wilderness calls to us with promises of adventure and solitude, but it also demands respect and preparedness. Understanding when and how to use emergency signals is a fundamental skill for anyone venturing into the great outdoors. By carrying the right tools, practicing their use, and making informed decisions, you equip yourself with the ultimate lifeline. Stay safe, stay smart, and keep exploring with the confidence that comes from being prepared.
This guide is compiled from widely accepted outdoor safety practices and recommendations from organizations such as the National Outdoor Leadership School (NOLS), REI, and various Search and Rescue agencies. Always consult local regulations and conditions before venturing into the wilderness.