Building a DIY First-Aid Kit for a Family of Four
Introduction
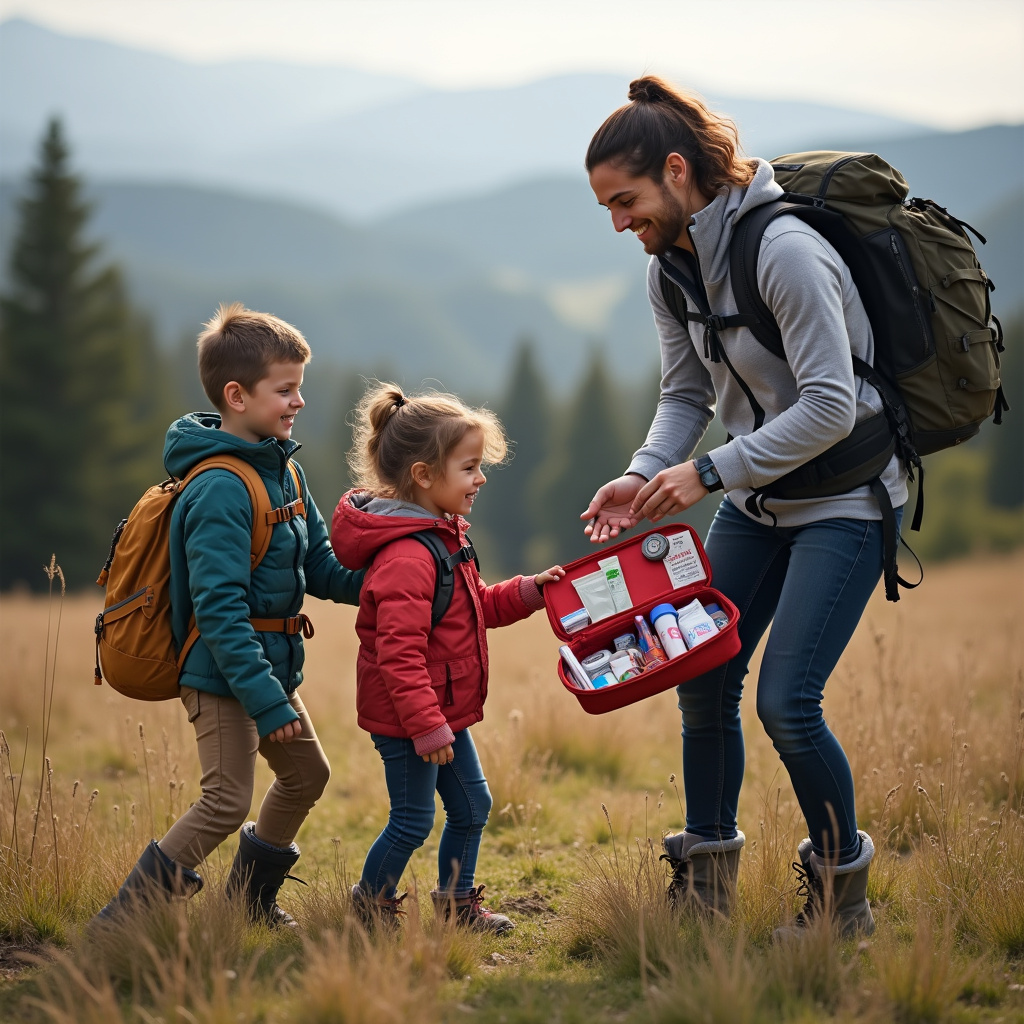
When you head out into the wild, whether it’s a short hike through a local park or a weekend camping trip, preparedness is your most reliable companion. For families, this rings even truer. Little bumps, scrapes, and unforeseen ailments are part and parcel of exploring with kids. While pre-assembled first-aid kits are readily available, building your own DIY first-aid kit for a family of four offers unparalleled advantages: customization, cost-effectiveness, and the intimate knowledge of every item within. At WildGridScout, we believe in equipping you with practical outdoor skills and minimalist gear advice, and few things are more fundamental than a well-stocked, thoughtfully curated first-aid kit. Let’s dive into how you can assemble a comprehensive yet streamlined kit that will offer peace of mind on all your family adventures.
Why Go DIY? The Benefits of Building Your Own Kit
Why bother building your own when you can simply buy one off the shelf? The answer lies in specificity and control. Store-bought kits often contain generic items, some of which you might never use, while lacking critical components tailored to your family’s unique needs. When you build it yourself, you can:
- Customize for Your Family: Do your kids have specific allergies? Does someone take a particular prescription medication? A DIY kit allows you to include exactly what you need, from EpiPens to specific children’s pain relievers.
- Tailor to Your Adventures: A day hike kit will differ from a multi-day backpacking kit. By building your own, you can adjust the contents based on the duration, remoteness, and type of activity you’re undertaking.
- Understand Every Item: The process of selecting and packing each item inherently familiarizes you with its purpose and how to use it. This knowledge is invaluable in an emergency.
- Save Money: Often, buying individual components and a quality bag can be more economical in the long run than repeatedly purchasing pre-made kits, especially when you need to replenish specific items.
- Embrace Minimalism: You can consciously choose multi-use items and avoid unnecessary bulk, aligning perfectly with a minimalist gear philosophy.
The Essentials: What Every Family Kit Needs
A well-rounded first-aid kit for a family of four needs to address a range of common ailments and potential injuries. Think beyond just bandages; consider pain, allergic reactions, and even basic hygiene.
Wound Care and Trauma
These are the staples for cuts, scrapes, and blisters.
- Assorted Bandages: From small finger bandages to large adhesive pads. Include blister-specific bandages or moleskin.
- Sterile Gauze Pads: Various sizes (e.g., 2×2, 4×4) for covering larger wounds.
- Medical Adhesive Tape: Hypoallergenic tape to secure gauze or bandages.
- Antiseptic Wipes/Solution: Individual alcohol pads or a small bottle of povidone-iodine or chlorhexidine wipes for cleaning wounds.
- Antibiotic Ointment: Small tubes of Neosporin or similar to prevent infection.
- Sterile Cotton Swabs: For precise application of ointments.
- Non-Stick Pads: For covering burns or large abrasions.
Medications and Allergies
Always carry over-the-counter medications that you and your family commonly use, along with any prescribed personal medications.
- Pain Relievers: Ibuprofen (adult and child dosage), Acetaminophen (adult and child dosage).
- Antihistamines: Diphenhydramine (Benadryl) for allergic reactions and insect bites (adult and child liquid/chewables).
- Antacids: For indigestion or heartburn.
- Anti-diarrheal Medication: Loperamide (Imodium).
- Personal Prescription Medications: Ensure you have enough for the trip plus a few extra days, stored in their original containers or clearly labeled.
- Allergy-Specific Medication: If anyone has severe allergies, include an EpiPen or other prescribed auto-injector.
Essential Tools and Sundries
These items might not treat a wound directly but are crucial for effective first aid.
- Scissors: Small, sharp trauma shears for cutting tape, clothing, or bandages.
- Tweezers: Fine-tipped for splinter and tick removal.
- Safety Pins: For securing slings or bandages.
- Thermometer: Digital, non-contact is ideal for kids.
- Disposable Gloves: Several pairs of non-latex gloves to protect yourself and the injured person.
- CPR Mask/Face Shield: A compact barrier device for performing CPR.
- Emergency Blanket: Mylar thermal blanket for warmth in shock or exposure.
- Small Flashlight/Headlamp: For examining wounds in low light.
- Hand Sanitizer: A small bottle for pre-treatment hygiene.
- Duct Tape: A small roll, surprisingly versatile for repairs, temporary splints, or securing gauze.
- Notepad and Pen: To record symptoms, times, and treatments.
Kid-Specific Considerations
Children often need different dosages or forms of medication, and their injuries can sometimes be harder to assess.
- Children’s Formulations: Liquid pain relievers, chewable antihistamines.
- Fever Reducers: Specific children’s ibuprofen or acetaminophen.
- Pediatric Electrolyte Solution: Packets for rehydration in case of dehydration from illness.
- Distraction Items: A small toy or sticker book can sometimes make a big difference during a painful treatment.
Embracing the Minimalist Ethos: Smart Packing for a Family
Building a comprehensive kit doesn’t mean hauling a medical chest. Here’s how to keep it minimalist and effective for a family of four:
- Multi-Use Items: Duct tape is an obvious example. Medical tape can also secure a loose tent pole in a pinch. A bandana can be a sling, a head covering, or a pre-filter for water.
- Travel-Sized & Repackage: Transfer larger bottles of liquids into smaller, clearly labeled travel containers. Use small zip-top bags to group similar items.
- Only What You Need: Instead of an entire box of bandages, pack a sensible assortment. If you’re on a short trip, you won’t need enough supplies for a major trauma center.
- Quality Over Quantity: Invest in good quality, reliable items. A robust pair of tweezers is better than a flimsy set that won’t extract a stubborn splinter.
- Consider a Roll-Up Pouch: Instead of a bulky box, a fabric roll-up pouch or a compact organizer with compartments keeps items secure, visible, and less prone to rattling or damage.
Organization, Maintenance, and Training
A first-aid kit is only as good as its organization and the knowledge of those using it.
- Logical Organization: Group similar items together (e.g., all wound care in one pouch, all medications in another). Label everything clearly. This saves crucial time in an emergency.
- Accessibility: Your kit should be easily accessible, not buried at the bottom of a pack. Inform other adults in your group where it is.
- Regular Checks: At least twice a year (and before every major trip), check expiration dates on medications and sterile supplies. Replenish anything used or expired. Check for leaks or damaged packaging.
- Basic First-Aid Training: The most important item in your kit is knowledge. Consider taking a basic first-aid and CPR course, ideally one with a wilderness focus if you spend a lot of time outdoors. The American Red Cross and NOLS Wilderness Medicine offer excellent courses. Knowing how to react calmly and effectively can prevent a minor incident from becoming a major crisis.
Conclusion: Peace of Mind in Every Adventure
Building a DIY first-aid kit for your family might seem like a daunting task, but it’s an empowering one. It shifts you from a passive consumer to an active participant in your family’s safety and well-being. By thoughtfully curating your kit, understanding its contents, and keeping it maintained, you’re not just packing supplies; you’re packing confidence. So, gather your components, get organized, and step out into your next adventure with the peace of mind that comes from being truly prepared. Happy trails, WildGridScouts!