Camp Kitchen Setup for a Solo Backpacker: A Minimal Fuel Usage Guide
The Art of Efficiency: Mastering Your Solo Camp Kitchen with Minimal Fuel
For the solo backpacker, every ounce counts, and every drop of fuel is a precious commodity. A well-optimized camp kitchen isn’t just about convenience; it’s about enhancing your wilderness experience, reducing pack weight, saving money, and minimizing your environmental footprint. This guide dives deep into creating a minimalist, hyper-efficient camp kitchen setup designed specifically for the lone adventurer, focusing on smart choices and techniques to drastically cut down on fuel consumption.
Why Go Minimal on Fuel? The Triple Threat Advantage
Embracing a minimal fuel strategy offers significant benefits that extend far beyond the immediate act of cooking:
- Weight Reduction: Fuel is dense. Carrying less means a lighter pack, less strain, and more enjoyable miles on the trail.
- Cost Savings: Backpacking fuel, especially canister gas, can add up. Efficient usage means fewer purchases over time.
- Environmental Impact: Less fuel consumed translates to fewer resources extracted and less waste generated (especially with canister stoves). It aligns perfectly with Leave No Trace principles.
Choosing Your Culinary Engine: The Minimalist Stove Showdown
The heart of any camp kitchen is the stove. For minimal fuel usage, the choice often boils down to a few key types, each with its own merits:
1. Canister Stoves (e.g., MSR PocketRocket, Jetboil)
These are popular for their convenience, rapid boil times, and ease of use. They screw onto a threaded fuel canister (isobutane/propane blend). While generally efficient, their performance can dip in cold weather, and estimating remaining fuel can be tricky. The main downside for minimalists is the non-refillable canisters, which become trash.
- Fuel Efficiency Tip: Look for stoves with good simmer control and integrated heat exchangers (like some Jetboil systems) for superior fuel consumption. Always use a wind screen (if safe and not too close to the canister, as per manufacturer’s instructions) to prevent heat loss.
2. Alcohol Stoves (e.g., Trangia, DIY soda can stoves)
Beloved by ultralight enthusiasts, alcohol stoves are incredibly simple, lightweight, and quiet. They burn denatured alcohol, which is cheap and readily available. The main trade-offs are slower boil times and less precise flame control. However, their simplicity means less to break, and fuel can be carried in lightweight, refillable bottles.
- Fuel Efficiency Tip: Practice measuring just the right amount of fuel for your meals. A pot cozy is almost mandatory with alcohol stoves to maintain heat during the longer cooking/rehydration process.
3. Wood Gasifier/Biomass Stoves (e.g., Solo Stove Lite, Bushbox)
These stoves use small twigs, leaves, and other biomass as fuel, meaning you theoretically never need to carry fuel. This is the ultimate in fuel minimalism. However, they require finding dry fuel (which can be impossible in wet conditions or above the tree line), produce soot on pots, and are subject to fire restrictions in some areas.
- Fuel Efficiency Tip: Master the art of starting and maintaining a small, hot fire. Use dry, pencil-thin twigs for best results.
The Solo Backpacker’s Choice: For balancing efficiency and convenience, a lightweight canister stove with a wind screen is often ideal. For the truly ultralight or those embracing primitive skills, an alcohol stove with a pot cozy or a wood gasifier (where conditions allow) shines brightest.
The Essential Minimalist Kitchen Gear List
Beyond the stove, a few key pieces will complete your efficient solo kitchen:
- Single Pot (700-900ml): Titanium or hard-anodized aluminum. Large enough to boil water for a meal and a hot drink, but no bigger than necessary. Your mug can often be your pot.
- Long-Handled Spoon/Spork: Essential for eating directly from rehydrated meal pouches without getting messy.
- Lighter/Fire Starter: Always carry two methods.
- Wind Screen: Crucial for efficiency with any stove type, but especially canister stoves. Position it to protect the flame from wind, ensuring it doesn’t trap excessive heat around a canister (follow safety guidelines).
- Pot Cozy: A game-changer for fuel efficiency. A DIY cozy made from Reflectix can be incredibly effective, allowing food to “cook” or rehydrate off the stove.
- Small Fuel Bottle/Canister: Carry only what you need, plus a small buffer.
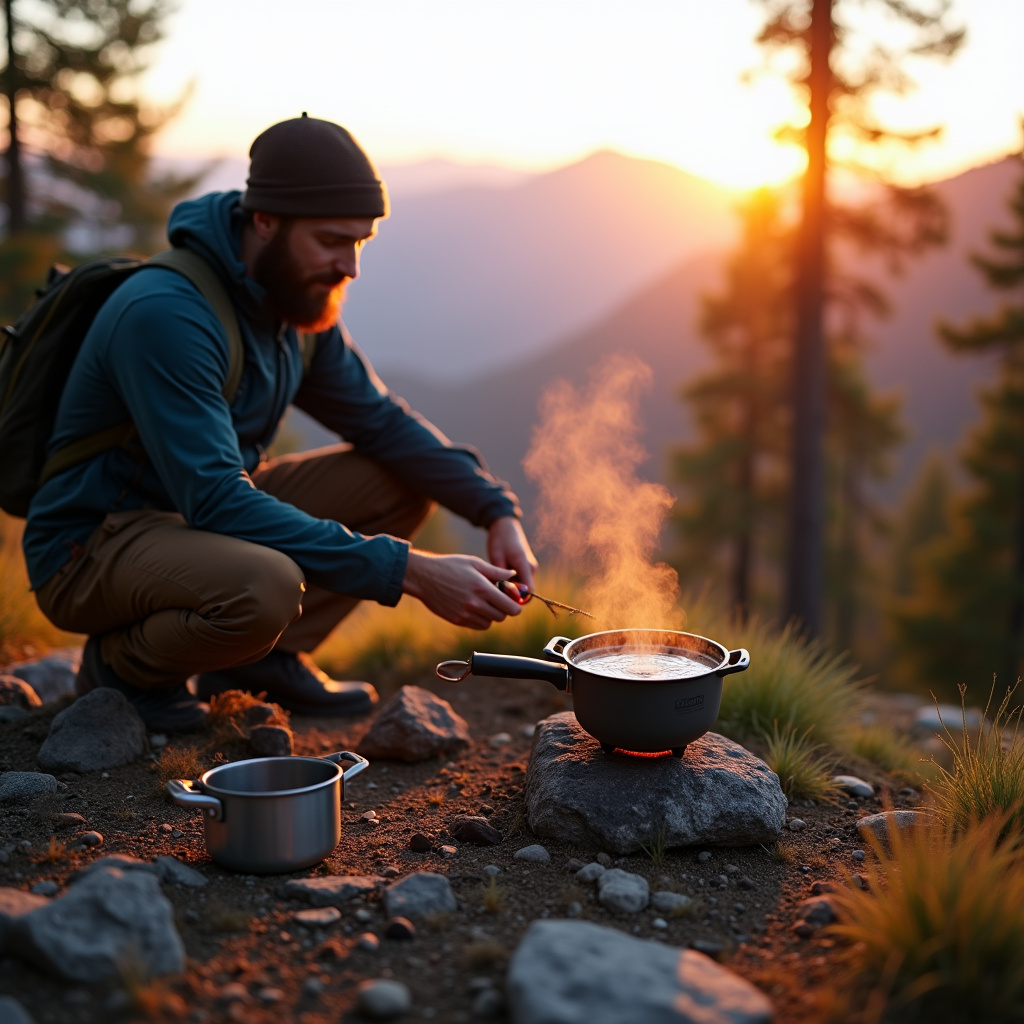
Fuel-Saving Strategies: Cooking Smart on the Trail
Once you have your gear, it’s all about technique and planning. These strategies will make your fuel last longer:
1. Plan Your Meals for Minimal Cooking
Focus on meals that require only boiling water or can be cold-soaked. Dehydrated or freeze-dried meals are perfect as they only need hot water added. Consider pasta, couscous, instant mashed potatoes, or even simple oatmeal for breakfasts. REI Expert Advice offers excellent ideas for lightweight backpacking food.
2. Embrace the Pot Cozy for Rehydration
This is arguably the most impactful fuel-saving hack. Boil your water, add it to your dehydrated food (either directly in your pot or in a freezer bag within your pot/cozy), bring it to a brief boil if necessary, then immediately remove it from the stove and place it in your pot cozy. The cozy will insulate the pot, allowing the food to rehydrate and “cook” using residual heat, saving significant fuel. This works wonders for ramen, couscous, and even some types of pasta.
3. Optimize Your Boil Time
- Use a Lid: Always keep a lid on your pot while boiling water to trap heat and speed up the process.
- Use a Wind Screen: As mentioned, a wind screen can reduce boil times by 30% or more by preventing heat loss to the wind. Just be mindful of safety, especially with canister stoves, to avoid overheating the fuel canister.
- Only Boil What You Need: Don’t fill your pot to the brim if you only need a cup for coffee and a cup for your meal. Measure precisely.
4. Cold Soaking: The Ultimate Fuel Saver
For some foods, you don’t need any heat at all! Cold soaking involves placing your food (e.g., oatmeal, instant refried beans, couscous, even some pasta types) in a sealed container or freezer bag with cold water and letting it sit for several hours (or while you hike). By the time you’re ready to eat, it’s rehydrated and ready to consume. This eliminates fuel usage entirely for those meals.
5. The One-Pot Meal Philosophy
Avoid elaborate recipes that require multiple pots or prolonged simmering. Stick to simple, one-pot meals that minimize cleanup and cooking time.
Estimating Fuel Needs & Leave No Trace
As a general guideline, a solo backpacker might use 10-15 grams of canister fuel per day for boiling water for two meals and a hot drink. Alcohol consumption varies but can be estimated similarly by volume. Always test your system at home to get a more accurate idea of your specific consumption rates. When you pack out, ensure all trash, including empty fuel canisters (if applicable), comes with you. Proper disposal of fuel is critical; never attempt to refill non-refillable canisters. Consult Leave No Trace for comprehensive guidelines on waste management.
Conclusion
Mastering a minimal fuel camp kitchen for solo backpacking is a journey of refinement. By thoughtfully selecting your gear and employing smart cooking strategies, you’ll not only lighten your load and save money but also deepen your connection to the wilderness through efficient and responsible practices. Experiment with these tips on your next adventure, and discover the freedom of a truly minimalist outdoor kitchen!