How to Build a Campfire in Wet Conditions
The Ultimate Guide to Building a Campfire in Wet Conditions
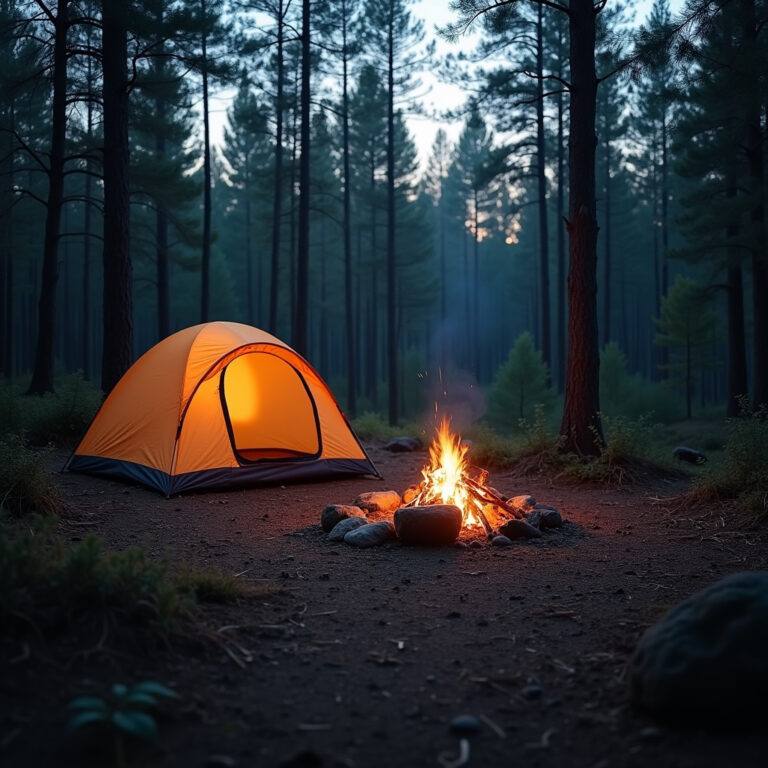
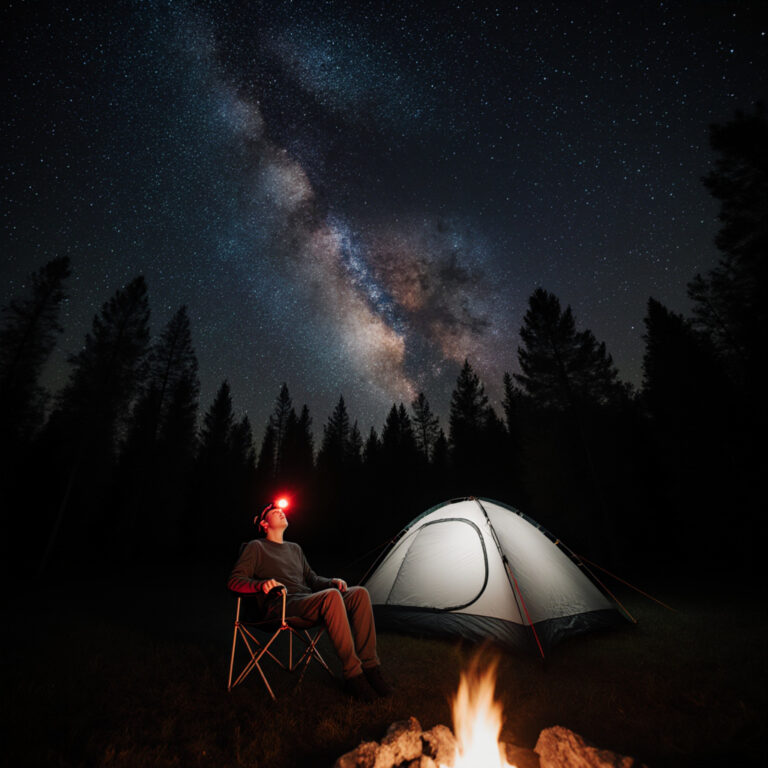
There’s something deeply primal and comforting about a roaring campfire. It’s not just about warmth; it’s about cooking, drying clothes, deterring pests, and providing a psychological anchor in the wilderness. But what happens when the elements conspire against you, drenching the forest in a relentless downpour? Building a fire in wet conditions isn’t just a challenge; it’s a critical survival skill that separates the prepared adventurer from the shivering novice. At WildGridScout, we believe in empowering you with the knowledge to thrive, not just survive, in the great outdoors. So, let’s dive deep into the art and science of coaxing a flame from a damp landscape.
The Wet Wilderness: Understanding the Challenge
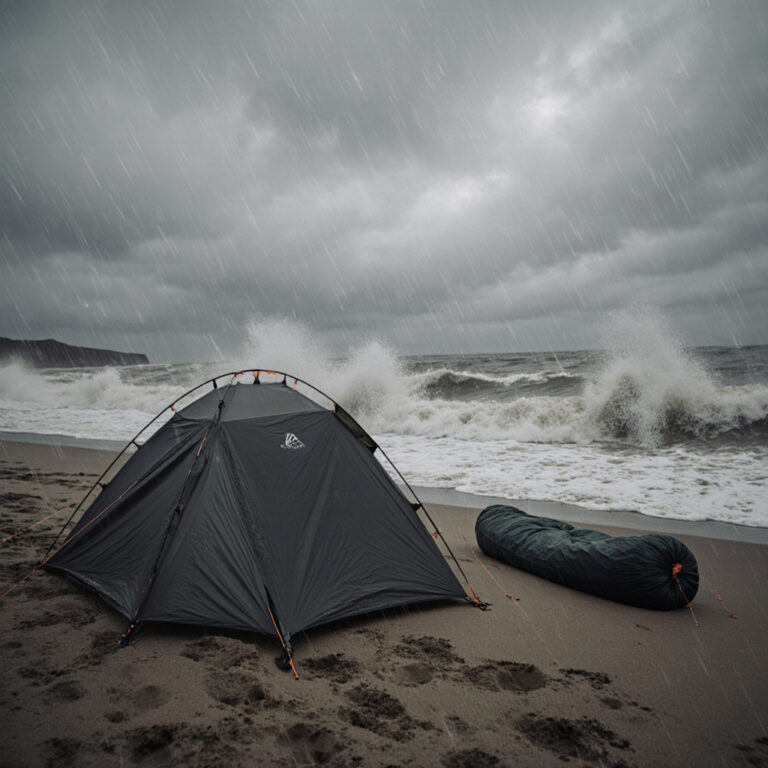
Water is the nemesis of fire. It cools materials below their ignition point, and even seemingly dry wood can harbor significant moisture. The air itself can be saturated, making ignition and sustained burning incredibly difficult. Rain can extinguish embers, and wind can scatter them before they have a chance to ignite larger fuel. The key to success lies in understanding these challenges and systematically overcoming each one with strategy and patience.
Preparation: Your First Line of Defense
The battle against the elements often begins long before you even set foot in the forest. As any seasoned outdoor enthusiast or a student of wilderness skills programs like NOLS would attest, proactive preparation is paramount:
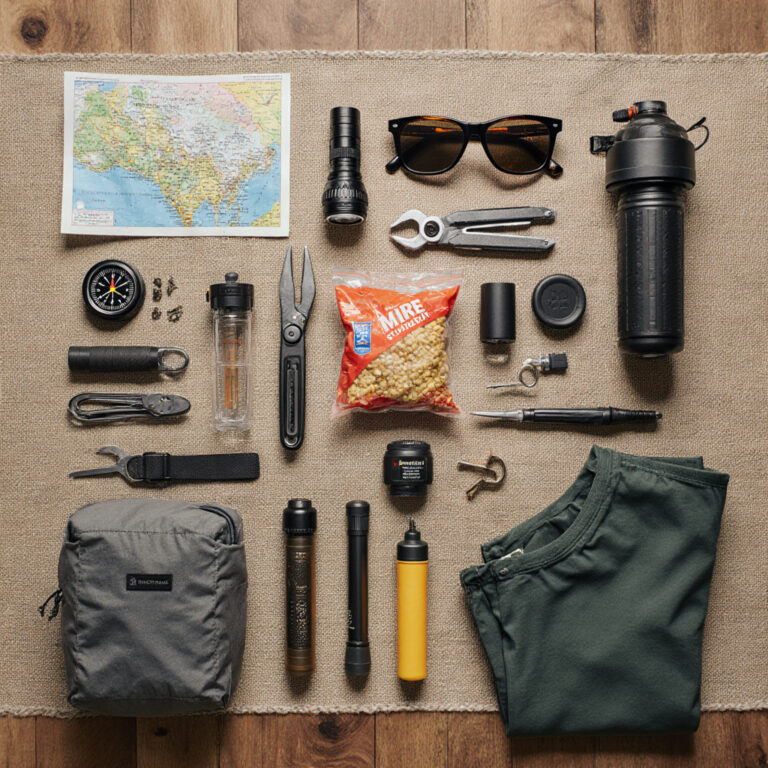
- Waterproof Your Gear: Ensure your fire-starting kit (lighters, matches, ferro rod, tinder) is absolutely dry. Use waterproof containers, Ziploc bags, or dry bags.
- Bring Reliable Fire Starters: Don’t rely on just one. Pack multiple methods: a quality ferro rod with a good striker, waterproof matches, a reliable lighter, and perhaps some commercial fire starters like solid fuel tabs or fire paste.
- Pre-Packaged Tinder: Cotton balls soaked in petroleum jelly, dryer lint, char cloth, or commercial tinder tabs are lightweight, compact, and incredibly effective. These burn hot and long, giving you precious seconds to ignite larger kindling.
- Sharpen Your Tools: A sharp knife and a small saw or hatchet are indispensable. They allow you to process wood efficiently and create feather sticks, crucial for getting to dry wood.
Scouting for Materials: The Hidden Dry
Even in a downpour, dry wood exists if you know where to look. This is where observation and bushcraft skills come into play:
- Dead Standing Wood: Trees or branches that are still standing but dead often shed water better than fallen logs. The inner wood of these can be surprisingly dry. Look for barkless, grey, or bleached wood that snaps cleanly.
- Undersides of Fallen Logs/Branches: Roll over larger logs or look underneath thick branches that have been elevated off the ground. The bottom can be shielded from rain and relatively dry.
- Sheltered Areas: Look under rock overhangs, dense evergreen trees (especially pine, spruce, or fir), or within the hollows of large trees. These natural shelters can often hide dry tinder and kindling.
- Fatwood (Resin-Impregnated Wood): Found in the heartwood of pine trees, especially old stumps or dead branches where resin has concentrated. It’s highly flammable and burns hot, even when damp. Shave it thinly to expose the resinous fibers.
- Birch Bark: The papery outer layers of birch trees contain oils that make them highly flammable, even when wet. Peel it off carefully, taking only what you need and avoiding girdling the tree.
Rule of Thumb: Always gather three times more tinder, kindling, and fuelwood than you think you’ll need. It’s better to have too much than to run out and have your fire die, forcing you to start from scratch.
Processing Your Fuel: Unlocking the Dry Core
Most wood found in wet conditions will have a saturated outer layer. The secret is to get to the dry wood within. This is where your sharp tools earn their keep.
- Splitting Wood: Use your axe or a sturdy knife and baton (another piece of wood) to split larger pieces of wood. The inside will be significantly drier. Always split wood on a stable surface, away from your body, and never towards your legs.
- Feather Sticks: With a sharp knife, shave thin curls of wood from a dry piece of kindling or split wood. These curls remain attached to the main stick, providing a large surface area for ignition. This is a crucial skill for wet weather fire building, creating what’s often called ‘fire-food’.
- Size Matters: Start small and progressively get larger:
- Tinder: Extremely fine, fluffy material that catches a spark easily (e.g., petroleum jelly cotton balls, fine birch bark shavings, fine feather stick curls).
- Kindling: Pencil-lead to pencil-sized twigs and split wood. These pieces should be dry enough to snap, not bend.
- Fuelwood: Finger to wrist-sized branches, then larger logs. Gradually increase the size as your fire gains strength.
Building the Fire Lay: Structure for Success
A good fire lay provides structure, allows airflow, and protects nascent flames. This is where the art of fire building truly comes into play.
- The Platform: Never build a fire directly on wet ground. It will absorb heat and inhibit ignition. Create a platform using small logs, rocks, or a layer of green branches (if regulations allow and it’s temporary). This elevates the fire, allowing air circulation underneath and keeping it away from moisture.
- The Teepee Lay: This is often the best choice for wet conditions due to its conical shape that directs heat upwards efficiently. Stand your tinder bundle in the center, then lean progressively larger kindling around it in a teepee shape. As the fire grows, add more kindling and then fuelwood, maintaining the teepee structure to direct heat upwards and provide good airflow.
- The Log Cabin Lay: While effective for sustained fires, it might be harder to start in very wet conditions due to less concentrated heat initially. If used, ensure plenty of tinder and kindling are packed tightly in the center.
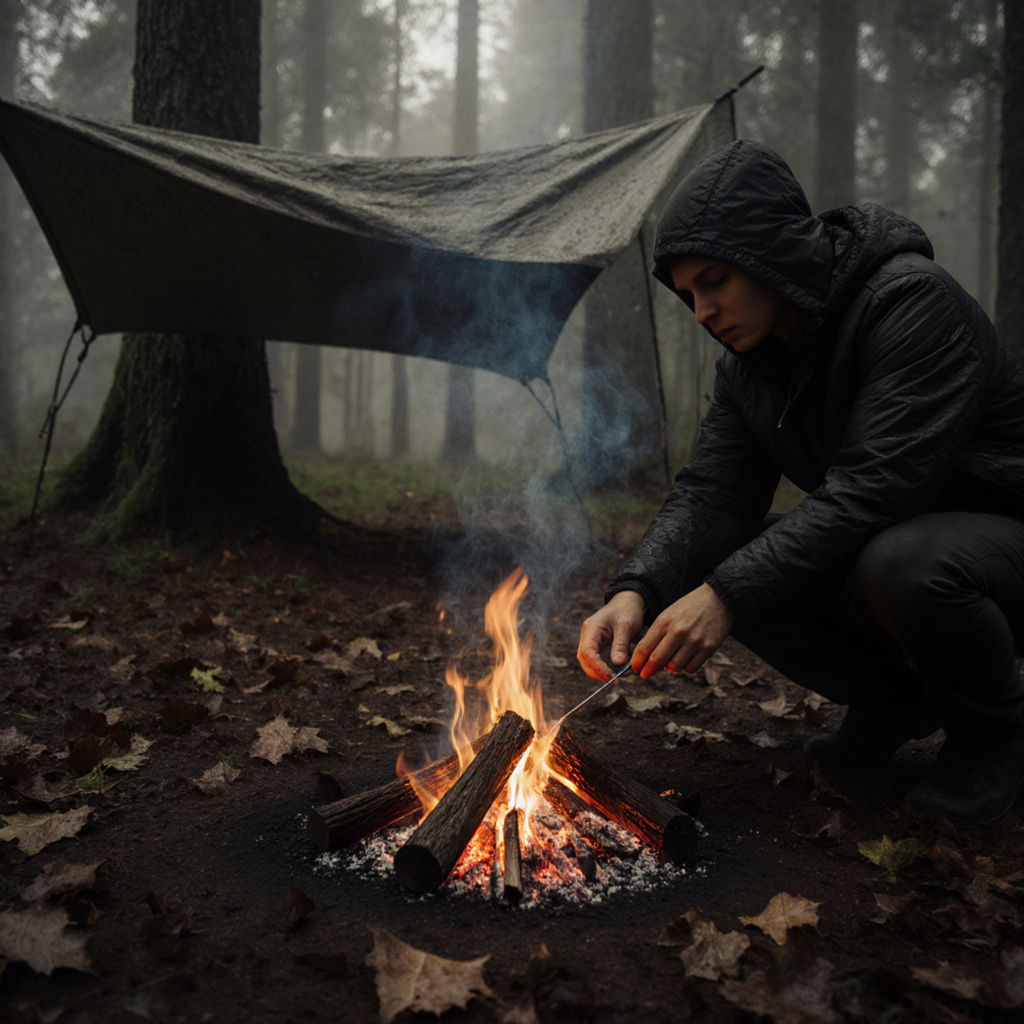
Protection: If it’s raining, consider a temporary shelter for your fire. A tarp strung up high, or even a large natural overhang, can make all the difference in getting the fire established and keeping your fuel dry.
Ignition and Nurturing: The Dance of Flame
Once your fire lay is built, it’s time for ignition. Patience and persistence are your allies here.
- Spark and Flame: Aim your ferro rod sparks or lighter flame directly at the driest, fluffiest part of your tinder. Be patient. It might take several attempts to get a solid ignition, especially with natural tinder.
- Gentle Airflow: Once ignited, gently blow on the base of the flame. This provides oxygen, helping the tinder catch and spread to the kindling. Do not blow too hard, or you’ll extinguish the delicate flame. Think of it as breathing life into the fire.
- Gradual Feeding: As the tinder catches, slowly add your pencil-lead sized kindling, then progressively larger pieces. Don’t smother the flame with too much wood too quickly. Allow each stage to catch fire completely before adding more.
- Maintain the Heat: In wet conditions, it’s crucial to build a hot, sustained fire quickly. This helps dry out the larger fuelwood you add, allowing it to burn more efficiently.
Safety and Leave No Trace Principles
A successful fire is always a safe fire. Our responsibility to the environment and fellow adventurers is paramount:
- Always ensure your fire is in a safe, cleared area, away from overhanging branches, dry grass, or anything flammable. Clear a fire break down to mineral soil.
- Never leave a fire unattended, even for a moment.
- When you’re ready to leave, ensure the fire is completely extinguished. Drown it with plenty of water, stir the ashes, and feel for any remaining heat. Repeat until it’s cold to the touch.
- Remember to practice Leave No Trace principles. Disperse cold ashes and scatter any unburnt wood. Leave the campsite better than you found it, minimizing your impact on the wilderness.
Conclusion
Building a campfire in wet conditions is a testament to your preparation, skill, and resilience. It’s a challenging but deeply rewarding experience that reinforces your connection to the wilderness. By understanding the principles of material selection, processing, fire lay construction, and patient ignition, you’ll be well-equipped to conjure warmth and comfort even when the rain is falling. Practice these skills safely and responsibly, and you’ll transform challenging outdoor situations into opportunities for growth and deeper appreciation for nature’s power. Stay warm, stay wild, and happy trails!