How to Take Great Photos on Your Outdoor Adventures
Welcome, fellow adventurers and visual storytellers, to another deep dive from WildGridScout! Our world is an awe-inspiring canvas, and every outdoor expedition presents a unique opportunity to capture its fleeting beauty. Whether you’re summiting a majestic peak, navigating a serene forest trail, or simply enjoying a breathtaking sunset by the lake, photographs serve as more than just memories; they are windows to past experiences, inspiring future journeys and sharing the magic with others. But how do you move beyond simple snapshots to truly great photos that tell a compelling story?
Embrace Your Gear, No Matter How Minimalist
Forget the myth that you need a professional DSLR rig and a backpack full of lenses to capture stunning outdoor images. While high-end gear certainly has its place, the best camera is often the one you have with you. For the minimalist adventurer, this usually means your smartphone or a compact mirrorless camera. Modern smartphones boast incredible capabilities, with advanced sensors and computational photography features that can rival entry-level dedicated cameras. Their portability and ease of use make them ideal for quick shots on the trail.
If you’re looking to step up your game without adding significant bulk, consider a compact mirrorless camera. These offer interchangeable lenses, larger sensors for better low-light performance, and manual controls, all in a relatively small package. Essential accessories, regardless of your camera choice, include:
- Extra Batteries: Cold weather drains batteries faster, and you don’t want to miss that perfect shot.
- Protective Case/Bag: Your outdoor gear takes a beating; your camera should be no exception.
- Microfiber Cloth: For wiping off dust, moisture, or smudges from your lens.
- Lightweight Tripod (Optional): Essential for low-light shots, long exposures (think silky waterfalls), or self-portraits with a timer.
Remember, the most expensive gear won’t guarantee great photos if you don’t understand the fundamentals of photography. Invest in learning the craft before investing in more gear. (Source: Outdoor Photographer Magazine, “The Complete Guide to Outdoor Photography”)
Master the Art of Light: Your Best Friend
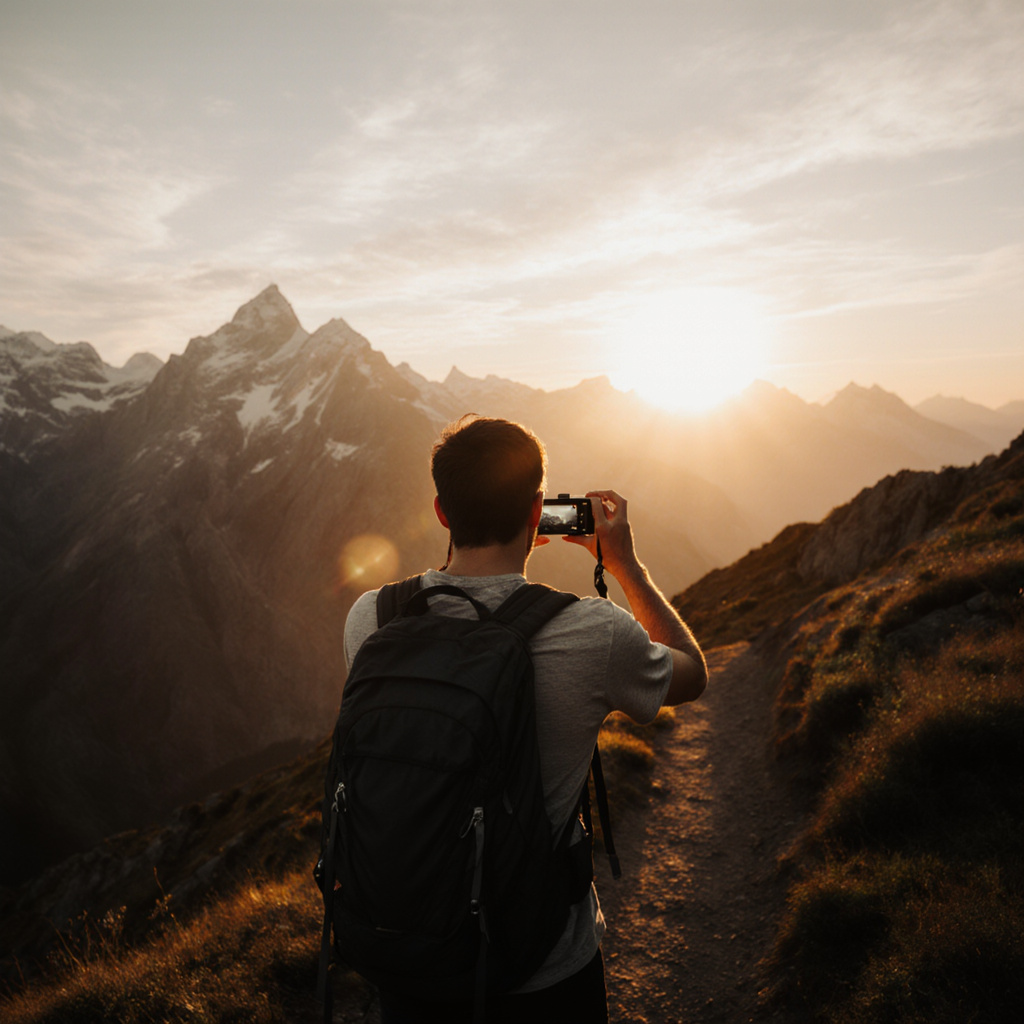
Light is the painter’s brush for a photographer. Understanding how to use it can elevate your images from ordinary to extraordinary. The “golden hour” – the period shortly after sunrise or before sunset – is universally cherished by photographers. During this time, the sun’s low angle casts a warm, soft glow, creating long, interesting shadows and adding depth and dimension to landscapes. Similarly, the “blue hour,” just before sunrise or after sunset, offers a cool, tranquil light that’s perfect for moodier scenes.
Avoid shooting directly in the harsh midday sun if possible, as it creates strong contrasts and blown-out highlights. If you must shoot midday, seek out shaded areas or use natural diffusers like dense tree cover to soften the light. Overcast days, while seemingly dull, provide a beautiful, diffused light that’s excellent for capturing vibrant colors and intricate details without harsh shadows. (Source: National Geographic, “Photography Tips: Understanding Light”)
Composition: The Blueprint of a Great Photo
Composition is how you arrange elements within your frame. It’s the secret sauce that guides the viewer’s eye and creates visual harmony. Here are a few fundamental techniques:
- Rule of Thirds: Imagine your frame divided into nine equal sections by two horizontal and two vertical lines. Place your subjects or points of interest along these lines or at their intersections for a more balanced and engaging image.
- Leading Lines: Use natural lines in the landscape – a winding trail, a river, a fence – to draw the viewer’s eye into and through the image, creating depth and a sense of journey.
- Framing: Utilize natural elements like tree branches, archways, or rock formations to frame your main subject, adding context and focus.
- Foreground Interest: Placing an interesting object or element in the foreground adds depth and scale, making the viewer feel more immersed in the scene.
- Symmetry and Patterns: Look for repetition and symmetry in nature, such as reflections on water or rhythmic rock formations.
(Source: REI Co-op Journal, “Photography Tips for the Trail”)
Diverse Subject Matter: Telling Your Adventure Story
While sweeping landscapes are often the star of outdoor photography, don’t limit yourself. Your adventures are rich with diverse subjects:
- Grand Landscapes: Capture the vastness and majesty of your surroundings. Consider panoramic shots or using a wide-angle lens.
- Wildlife: Patience is key. Use a longer lens if possible and keep a respectful distance. Focus on their eyes for a captivating portrait.
- Macro and Details: Zoom in on the intricate patterns of a leaf, the texture of moss, or a tiny wildflower. These close-ups reveal the hidden beauty often overlooked.
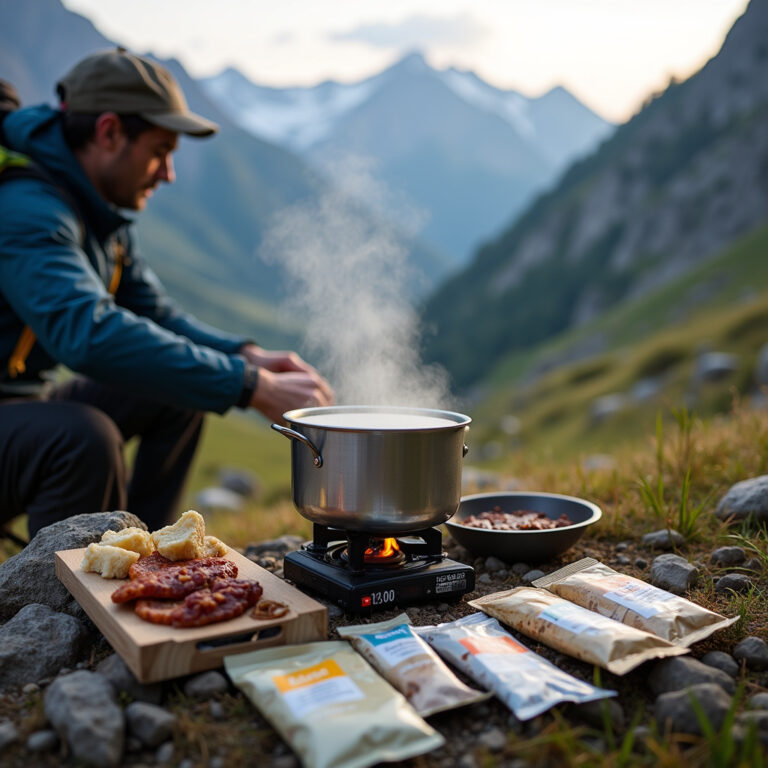
- Human Element: Don’t forget to include your hiking partners, or even yourself, to add a sense of scale, emotion, and personal connection to the adventure. Action shots of people interacting with the environment can be incredibly dynamic.
Photography Ethics: Leave No Trace in Your Shots
As outdoor enthusiasts, our responsibility extends beyond just capturing beauty; it includes preserving it. Practice Leave No Trace principles in your photography:
- Stay on Trails: Do not trample delicate vegetation or disturb natural habitats for a photo.
- Respect Wildlife: Maintain a safe and respectful distance. Never feed, approach, or disturb animals for a shot. Use a zoom lens instead.
- Be Mindful of Others: Don’t block trails or popular viewpoints for extended periods. Be courteous to fellow hikers and campers.
- Leave What You Find: Don’t rearrange natural objects or introduce foreign elements into your shots.
Your photos should reflect the pristine beauty of nature, not your impact on it. (Source: Leave No Trace Center for Outdoor Ethics, “Photography & Drones”)
Basic Post-Processing: Refining Your Vision
Post-processing isn’t about creating something false; it’s about enhancing what was already there and bringing your artistic vision to life. Even subtle adjustments can make a big difference. On your smartphone, built-in editing tools or free apps like Snapseed or Lightroom Mobile can help you crop, adjust exposure, tweak contrast, and correct colors. For more advanced editing, desktop software like Adobe Lightroom or Photoshop offers extensive control.
Start with minor adjustments. The goal is to make your photo look its best, not to over-process it to the point of unrecognizability. Focus on:
- Cropping: To improve composition and remove distracting elements.
- Exposure & Highlights/Shadows: To balance the light in your image.
- Contrast & Clarity: To add punch and detail.
- Color Balance/Vibrance: To make colors pop naturally.
Conclusion: Practice, Explore, and Enjoy the Process
Taking great photos on your outdoor adventures is a journey, not a destination. It requires practice, experimentation, and a keen eye for observation. Don’t be afraid to try new angles, play with light, and break the “rules” once you understand them. Most importantly, remember that the experience itself is paramount. Put the camera down occasionally, breathe in the fresh air, and fully immerse yourself in the moment. The best photos often emerge when you’re truly connected to your surroundings.
So, pack your minimalist gear, embrace the light, and head out there. Your next incredible shot is waiting to be discovered!