How to Use a Compass with a Map: A Beginner’s Navigation Primer
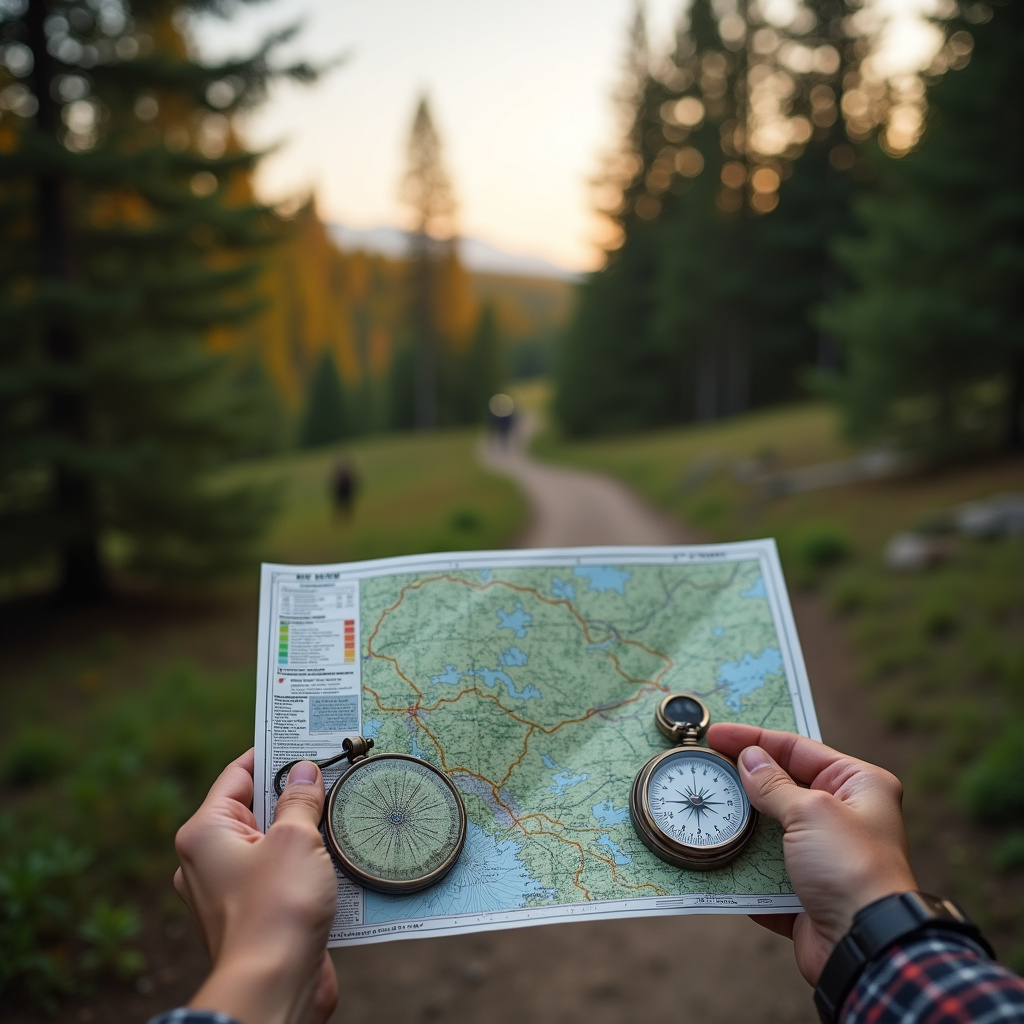
In an age dominated by GPS devices, smartphone apps, and digital maps, the skill of navigating with a traditional map and compass might seem archaic. Yet, for anyone venturing into the wilderness, it remains an indispensable, life-saving skill. Batteries die, signals drop, and screens crack. A topographic map and a reliable compass, however, are immune to these digital vulnerabilities. They offer a tangible connection to the landscape and empower you with a deep sense of self-reliance and confidence. At WildGridScout, we believe in mastering practical outdoor skills, and there’s no skill more foundational to safe exploration than knowing how to use a compass with a map.
Why Traditional Navigation Still Matters
Imagine yourself deep in a national forest, the trail markers fading, and your phone’s battery critically low. Panic sets in, but then you remember your folded topo map and the compass clipped to your pack. This isn’t just about emergency preparedness; it’s about freedom. Knowing you can navigate independently opens up a world of possibilities, allowing you to explore off-the-beaten-path trails and truly immerse yourself in nature without constant reliance on technology. It builds a deeper understanding of terrain, topography, and direction, transforming you from a passive follower to an active explorer.
Your Essential Tools: The Map and The Compass
The Topographic Map
More than just a flat piece of paper, a topographic map is a detailed, three-dimensional representation of the Earth’s surface. It’s your bird’s-eye view of the landscape, revealing contours, elevation changes, water features, trails, and human-made structures. Key elements to understand include:
- Contour Lines: Lines connecting points of equal elevation. Closely spaced lines indicate steep terrain, while widely spaced lines mean gentler slopes.
- Scale: Indicates the ratio between a distance on the map and the corresponding distance on the ground (e.g., 1:24,000 means one inch on the map equals 24,000 inches on the ground).
- Legend: Explains the symbols used on the map.
- Declination Diagram: Crucial for accurate navigation, this diagram shows the difference between true north (geographic north) and magnetic north (where your compass needle points). This difference varies by location and over time, so always check the most recent map for the correct declination for your area.
For more on reading topo maps, resources like the USGS’s guide to Topographic Map Symbols are invaluable.
The Baseplate Compass
While many types of compasses exist, a clear baseplate compass is ideal for map navigation. Familiarize yourself with its parts:
- Baseplate: The clear plastic rectangle that you place on your map. It usually has rulers for measuring distances.
- Direction of Travel Arrow: Pointed towards the direction you intend to go.
- Rotating Bezel (Azimuth Ring): A dial with 360 degrees, used to set bearings.
- Magnetic Needle: The red (or colored) end always points to magnetic north.
- Orienting Arrow/Lines: Lines and an arrow inside the rotating housing, used to align with north lines on the map.
A good starting point for understanding compass components can be found in basic outdoor education guides, like those from REI’s Expert Advice on Navigation Basics.
The Fundamentals: A Step-by-Step Guide
1. Orient Your Map to North
This is the crucial first step. It aligns your map with the actual terrain around you, making features on the map correspond to what you see.
- Place your map on a flat surface.
- Place your compass on the map.
- Rotate the map and compass together until the red end of your compass needle aligns with the orienting arrow inside the compass housing. Make sure the orienting arrow is pointing towards the top (north) of your map.
- If your map has a declination, adjust for it. For example, if the declination is 10° East, you would rotate your compass bezel 10° counter-clockwise (West) relative to the North line, then align your magnetic needle with *that* new North. Or, simply rotate the entire map until the magnetic north line on your compass points to the adjusted declination line on your map. It’s often simpler to draw a declination line on your map if it’s not present.
With your map oriented, all features on the map now accurately reflect their real-world counterparts.
2. Taking a Bearing from the Map (Map to Compass)
This tells you the direction to travel from your current location to a destination.
- Place your compass on the map so the edge of the baseplate connects your current location (A) with your destination (B). Ensure the Direction of Travel arrow points from A to B.
- Rotate the compass bezel until the orienting lines within the housing are parallel to the map’s north-south grid lines, and the orienting arrow points to the map’s north. Ignore the magnetic needle for this step.
- Read the bearing where the Direction of Travel arrow intersects the degree dial on the bezel. This is your magnetic bearing (assuming you’ve adjusted for declination as part of the map’s grid lines or will adjust it later in the field).
3. Following a Bearing in the Field (Compass to Terrain)
Now, take that bearing and use it to navigate.
- Hold the compass level in front of you, with the Direction of Travel arrow pointing away from you.
- Rotate your entire body until the magnetic needle aligns with the orienting arrow inside the compass housing (red to red). The Direction of Travel arrow is now pointing in the direction of your destination.
- Look up and identify a prominent landmark in that direction – a unique tree, a rock formation, a distant peak. Walk to that landmark.
- Once you reach the landmark, repeat the process: re-align your magnetic needle with the orienting arrow, find a new landmark, and walk to it. This technique, called “leapfrogging,” helps maintain accuracy over varied terrain and prevents drifting off course.
Remember, compasses are affected by local magnetic interference from metal objects (watches, knives, power lines), so keep them clear.
4. Triangulation: Pinpointing Your Position
If you’re unsure of your exact location, triangulation can help.
- Orient your map to north.
- Identify at least two (preferably three) distinct landmarks visible both on the map and in the field (e.g., a mountain peak, a lake, a prominent bend in a river).
- Point your compass’s Direction of Travel arrow at one landmark.
- Rotate the bezel to align the magnetic needle with the orienting arrow (red to red). Read the bearing.
- Place the compass on your map, aligning the Direction of Travel arrow with the landmark on the map. Rotate the *entire compass* (not the bezel) until the orienting lines are parallel with the map’s north-south grid lines and the orienting arrow points north.
- Draw a line along the baseplate from the landmark towards you.
- Repeat this process for at least one more landmark. Where the lines intersect (or form a small triangle if using three), that’s your approximate location.
For a visual guide on triangulation, check out resources like the National Park Service’s Navigating with a Map and Compass page.
Tips for Success and Avoiding Common Pitfalls
- Practice Makes Perfect: Start in a familiar park or backyard. Practice orienting your map, taking bearings, and following them.
- Always Check Declination: This is arguably the most common mistake. Failing to adjust for the difference between true and magnetic north will throw you off course.
- Keep it Level: Ensure your compass is level for the needle to swing freely and accurately.
- Look Up: Don’t get tunnel vision looking at your compass. Constantly scan the horizon for landmarks to confirm your direction and progress.
- Pace Count: Learn how many paces it takes you to cover 100 meters on different types of terrain. This helps estimate distances.
- Mind Your Surroundings: Be aware of power lines, large metal objects, or even certain types of rock that can affect your compass needle.
- Carry a Pencil and Eraser: For marking your map and erasing notes.
Embrace the Journey
Learning to navigate with a map and compass is more than just acquiring a technical skill; it’s about fostering a deeper connection with the natural world and building unwavering self-confidence. It’s a key component of minimalist outdoor preparedness, ensuring that even with minimal gear, you possess maximum capability. So, grab a map, pick up a compass, and start exploring. The wilderness awaits, and with these skills, you’re ready to answer its call.