
Wilderness First Aid: How to Treat Sprains and Strains on the Trail
Introduction: Navigating the Unexpected in the Wild
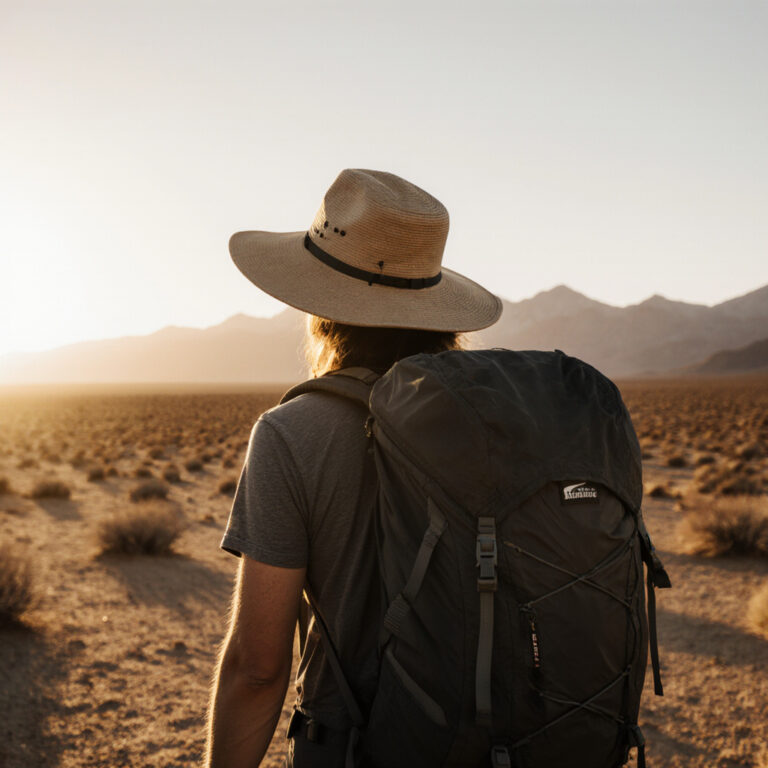
The call of the wild is undeniable – the rustling leaves, the crisp mountain air, the solitude of the trail. But with every step into nature’s embrace comes the inherent risk of the unexpected. Even the most seasoned adventurers can find themselves facing a common, yet potentially trip-ending, injury: sprains and strains. Far from the immediate help of urban emergency services, knowing how to properly assess and treat these injuries in a wilderness setting isn’t just good practice; it’s essential for your safety and the success of your expedition.
At WildGridScout, we believe in empowering you with practical outdoor skills. This post will delve into the critical steps for managing sprains and strains on the trail, transforming a potential emergency into a manageable challenge. We’ll cover everything from initial assessment to effective immobilization and knowing when to call for help, ensuring you’re better prepared for whatever the wilderness throws your way.
Sprains vs. Strains: Knowing the Difference Matters
While often used interchangeably, sprains and strains affect different tissues and require slightly different considerations for treatment. Understanding this distinction is your first step in effective wilderness first aid:
- Sprain: An injury to a ligament, which connects bones to other bones, stabilizing joints. Sprains occur when a joint is forced beyond its normal range of motion, causing the ligaments to stretch or tear. Common sites include ankles, knees, and wrists.
- Strain: An injury to a muscle or tendon, which connects muscles to bones. Strains typically result from overstretching, overexertion, or repetitive motion, leading to muscle fibers or tendons tearing. Common sites include hamstrings, quadriceps, and the back.
Both can cause pain, swelling, bruising, and limited mobility, but the underlying tissue damage is key. In the field, differentiating perfectly can be difficult, so treatment often overlaps, focusing on stabilizing the affected area.
Initial Assessment: The STOP Principle
When an injury occurs, your immediate response is crucial. The STOP principle provides a systematic approach to assessing the situation and preventing further harm:
- S – Stop: Stop all activity immediately. Have the injured person sit or lie down in a safe spot. This prevents further injury and allows for a calm assessment.
- T – Talk: Engage with the injured person. Ask them what happened, where it hurts, and to describe the pain (sharp, dull, throbbing). Inquire about any past injuries to the area.
- O – Observe: Visually inspect the injured area. Look for swelling, bruising, deformity, open wounds, or any asymmetry compared to the uninjured limb. Gently touch the area, noting tenderness or warmth.
- P – Prevent: Take steps to prevent further injury or worsening of the current one. This might mean moving to a more sheltered location, providing warmth, or preparing for treatment.
On-Trail Treatment: The P.R.I.C.E. Protocol in the Wild
Once you’ve assessed the injury, the P.R.I.C.E. protocol is your go-to for immediate care of sprains and strains:
- P – Protection: Protect the injured area from further damage. This might involve using crutches (made from trekking poles) or a sling, and ensuring the person avoids putting weight or stress on the injury.
- R – Rest: Rest the injured limb. Avoid any activity that causes pain. For lower limb injuries, this means no weight-bearing. For upper limb injuries, minimize movement.
- I – Ice: Reduce swelling and pain. In the wilderness, you won’t have an ice pack, but you can improvise. Use snow (in a waterproof bag to prevent frostbite), cold stream water (soak a bandana or shirt and apply), or even a bag of cold, damp earth. Apply for 15-20 minutes every 2-3 hours.
- C – Compression: Apply a snug (but not too tight) bandage to help reduce swelling and provide support. An elastic bandage from your first aid kit is ideal. Wrap from below the injury up past it, ensuring circulation isn’t cut off (check for numbness, tingling, or discolouration in toes/fingers).
- E – Elevation: Elevate the injured limb above the level of the heart. This also helps reduce swelling. Use a backpack, sleeping pad, or even another person’s leg as a prop.
Immobilization Techniques: Beyond the Bandage
For more severe sprains or strains where stability is compromised, immobilization is critical. This helps prevent movement that could worsen the injury and can significantly reduce pain during travel.
Splinting an Ankle or Lower Leg:
If an ankle or lower leg sprain/strain is severe enough to prevent weight-bearing, a rigid splint might be necessary.
- Materials: Use trekking poles, sturdy sticks, or even rolled-up sleeping pads as rigid supports. You’ll also need bandages, duct tape, or strips of cloth to secure the splint.
- Padding: Place soft material (clothing, extra bandages) around the injury and bony prominences to prevent pressure sores.
- Application: Position the rigid supports on either side of the injured limb, extending beyond the injured joint. Secure them firmly with your wrapping material, ensuring not to cut off circulation. The goal is to keep the joint stable.
Arm Sling for Shoulder/Arm Injury:
For an arm, wrist, or shoulder injury, a sling can provide crucial support.
- Materials: A triangular bandage, a large bandana, or even a piece of clothing can be fashioned into a sling.
- Application: Position the sling to support the arm, with the hand slightly elevated. Tie the ends behind the neck, padding the knot if necessary.
Always check for “PMS” (Pulse, Motor, Sensory) function both before and after applying any splint or bandage. Can they feel your touch? Can they wiggle their toes/fingers? Is their pulse present below the injury? Any changes indicate the splint is too tight or incorrectly applied.
Pain Management and Comfort
While pain relievers are limited in the wilderness, maximizing comfort can make a huge difference:
- Positioning: Help the injured person find a comfortable position, often with the injured limb elevated.
- Warmth: Prevent hypothermia, which can worsen shock and pain.
- Hydration and Nutrition: Keep the person well-hydrated and fed to aid recovery and morale.
- Distraction: Engage in conversation or focus on small, achievable goals (like making it to the next rest stop).
If you carry over-the-counter pain relievers like ibuprofen (NSAIDs) or acetaminophen, administer them according to dosage instructions, assuming there are no contraindications.
When to Evacuate vs. Self-Rescue
This is perhaps the most critical decision in wilderness first aid. Your assessment will guide this choice:
- Evacuate Immediately (Call for help/move to definitive care):
- Severe deformity or obvious dislocation (bone out of place).
- Inability to bear any weight (for lower limb injuries).
- Numbness, tingling, or inability to move toes/fingers (indicating nerve damage or circulatory compromise).
- Open fracture (bone piercing the skin).
- Signs of shock.
- Pain that is unbearable or rapidly worsening.
- You are unsure of the severity or suspect a more serious injury.
- Self-Rescue (Continue slowly with aid):
- Mild to moderate pain, manageable with rest and basic first aid.
- Ability to bear some weight (for lower limb injuries) or use the limb with support.
- No signs of nerve or circulatory compromise.
- Injury is stable and can be protected.
Always err on the side of caution. If there’s any doubt, especially if you’re far from help, it’s better to initiate an evacuation. Consider your group’s skills, resources, and the weather/terrain.
Prevention is Your Best Defense
The best treatment is prevention. Reduce your risk of sprains and strains by:
- Proper Footwear: Wear hiking boots appropriate for the terrain, providing good ankle support.
- Conditioning: Build strength and flexibility in your ankles, knees, and core before hitting challenging trails.
- Awareness: Pay attention to your footing, especially on uneven terrain or when fatigued.
- Appropriate Pack Weight: A heavy pack can throw off your balance and increase strain on your joints.
- Using Trekking Poles: They provide stability, reduce impact on joints, and can be improvised into splints if needed.
Conclusion: Preparedness is Freedom
Wilderness first aid for sprains and strains is a fundamental skill for any outdoor enthusiast. By understanding the nature of these injuries, employing the STOP and P.R.I.C.E. principles, and knowing when to escalate care, you equip yourself with the confidence to face challenges head-on. Remember, the goal isn’t just to survive an injury, but to manage it effectively so you can return to the trails safely and continue exploring the beauty of the wild. Stay prepared, stay safe, and happy trails!
Sources:
- National Outdoor Leadership School (NOLS) Wilderness Medicine.
- Wilderness Medical Associates International (WMAI).
- American Academy of Orthopaedic Surgeons (AAOS).